
From Drawing to Shipment Timeline
A custom stainless project moves from drawing to quotation, approval, cutting, finishing, packing and shipment. Here is a realistic stage-by-stage timeline.
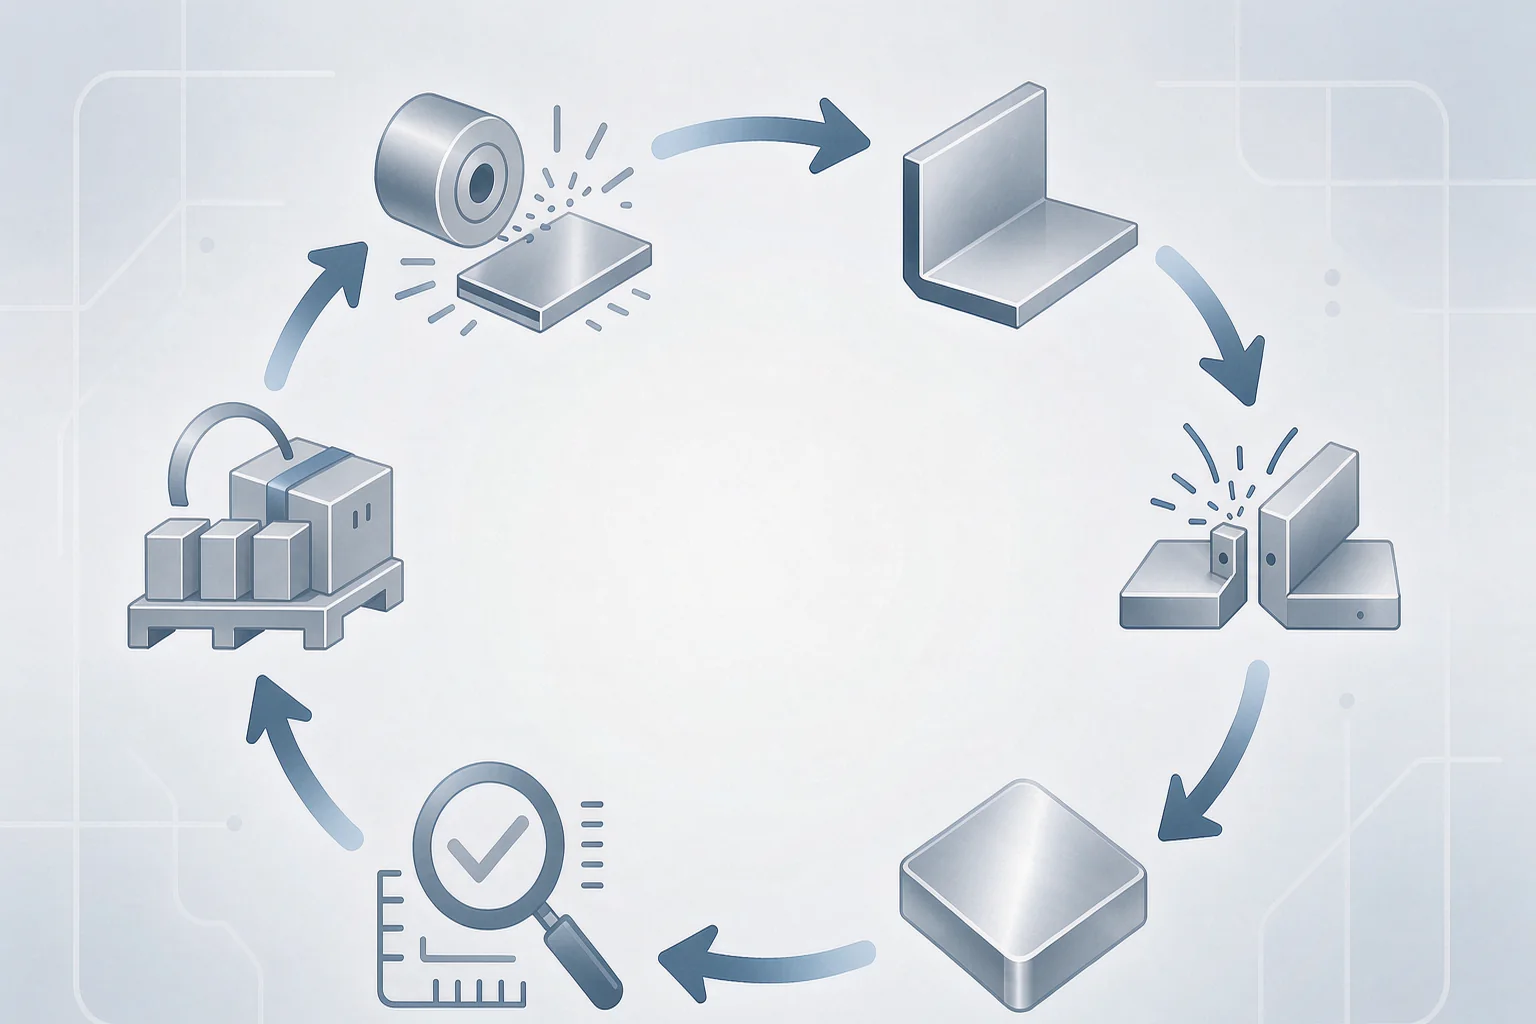
Stage one: drawing and quotation
Every custom stainless job starts with information you can measure. Send a dimensioned drawing or a clear sketch with overall sizes, opening dimensions, material grade, finish reference and quantity. The more complete the drawing, the faster the quotation, because the fabricator does not have to guess panel breaks, bend radii, hole positions or how a corner closes. At this stage you should receive a written price, the assumed thickness, the finish name, the minimum order quantity and an estimated lead time. Treat the lead time as a planning estimate until drawings are approved, not a fixed delivery date. If you are comparing several suppliers, give all of them the same drawing and the same specification so the quotes are genuinely comparable. This is also the moment to flag site constraints such as a narrow lift, a limited loading bay or a required installation sequence, because they can change how panels are divided and packed later on.
Stage two: approval and scheduling
Once the price is agreed, the drawing becomes the controlling document. Review it carefully: check every dimension, the direction of the grain, which faces are visible, where seams fall and how the piece will be fixed. Approve a sample of the finish at the same time, especially for PVD colours, because the approved sample becomes the standard for production. Only after both drawing and sample are signed should the job enter the production schedule. A common source of delay is a late change requested after cutting has started; even a small alteration can mean remaking a panel and losing your place in the queue. Build a short approval window into your own programme and assign one person who is authorised to sign off. If your site dates are fixed, share them with the supplier so they can sequence the work, but understand that a realistic schedule protects quality better than an unrealistic promise that collapses at the finishing stage.
Stage three: fabrication and finishing
Fabrication usually runs in a fixed order: cutting, deburring, bending or machining, welding where needed, surface preparation and finally the coating or final polish. Each step depends on the one before it, so rushing an early stage shows up later as a poor edge or an uneven finish. Deburring deserves special attention because a clean edge is both safer to handle and essential for a coating that lasts. During finishing, brushed or mirror surfaces are polished to the direction stated on the drawing, and PVD parts are loaded into the chamber together so colour stays consistent. This is the longest and least flexible stage, which is why changes are expensive here. If you need progress updates, ask for them at defined milestones such as after cutting and before packing rather than every day. For a multi-part order, request that panels be tagged with part numbers as they are made, so that assembly on site is a matter of following labels rather than measuring and matching every piece again.
Stage four: packing and shipment
Good fabrication can be undone by poor packing. Panels should carry protective film suitable for the journey, be separated by soft spacers and be packed in installation order where the sequence matters. Corners need extra protection, and heavy parts should be secured so they do not shift and rub against each other in transit. Label every crate with the project reference and a contents list so the site team can find a part without opening everything. Before goods leave, confirm the packing list against your order and keep photos of the packed crates; they are useful if a damage claim is needed. For sea freight to humid ports, ask about desiccants and whether the film is suitable for long exposure, because trapped moisture causes white rust on sheets during the voyage. Finally, agree who handles customs and local delivery, and share contact details for the consignee. Build a few days of buffer into the schedule for unloading and inspection before installation begins.
Factory and project images are AI-generated illustrations, not photographs of a real facility or completed project.
Have a drawing ready?
Send it on WhatsApp or by email. Get grade, finish, MOQ and lead time back within 24 working hours.